Loading...
play.acediamc.com
Click to copy IP
How the server actually works, in the order you will need it. Everything here is free and available from your first minute.
1. Claim your land first
Before you build anything, claim the ground with /claim. Unclaimed builds are not protected and staff will not restore them. You earn more claim blocks by playing and by voting.
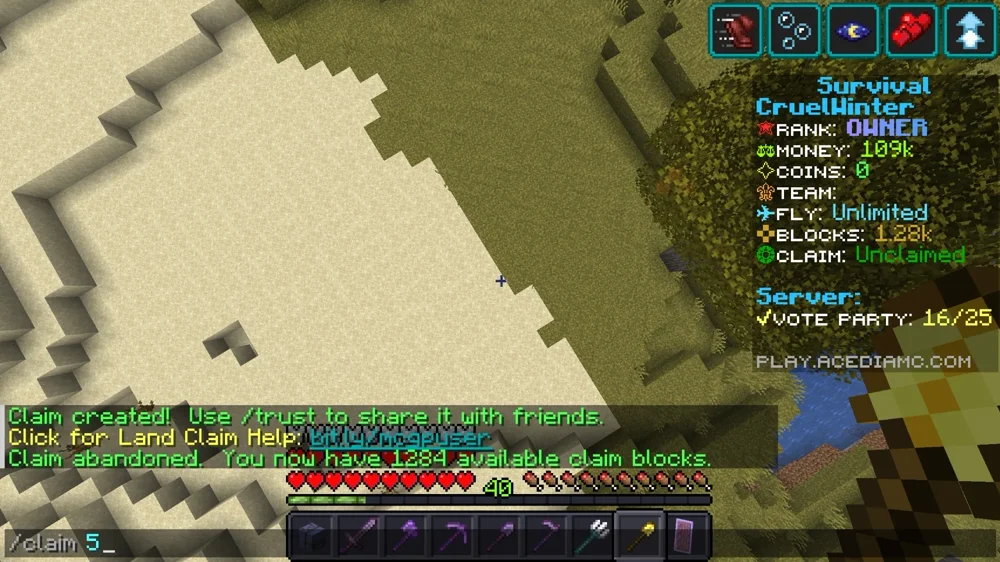
Stand in the middle of what you want to protect and type /claim followed by a size. Here it is /claim 5, which claims five blocks out in every direction. Notice the sidebar reads Unclaimed.
The claim appears immediately, outlined by glowing gold markers at its corners and edges, and the sidebar now shows your name instead of Unclaimed. Anything inside those markers is yours.
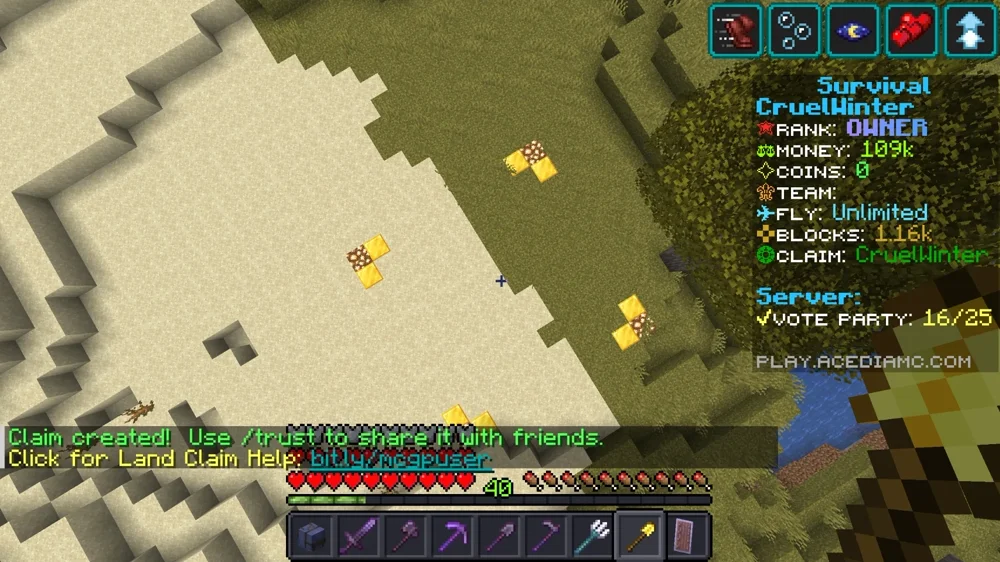
Share it with /trust <player>. Changed your mind? /unclaim hands the blocks back for use somewhere else.
The golden shovel works too
If you would rather draw the claim by hand than give it a number, hold a golden shovel and right-click one corner of the area, then right-click the opposite corner. The claim is created between those two points, so you can shape it to fit what you are protecting instead of a square around you.
It is also how you resize a claim later: with the shovel in hand, right-click one of the corner markers and then right-click where you want that corner to move to.
Holding a plain stick and right-clicking any block tells you whether the land is claimed and who owns it — useful before you start building next to somebody.
2. Pick a job
/jobs pays you for what you were going to do anyway — mining, building, hunting and more. This is where most of your early money comes from.
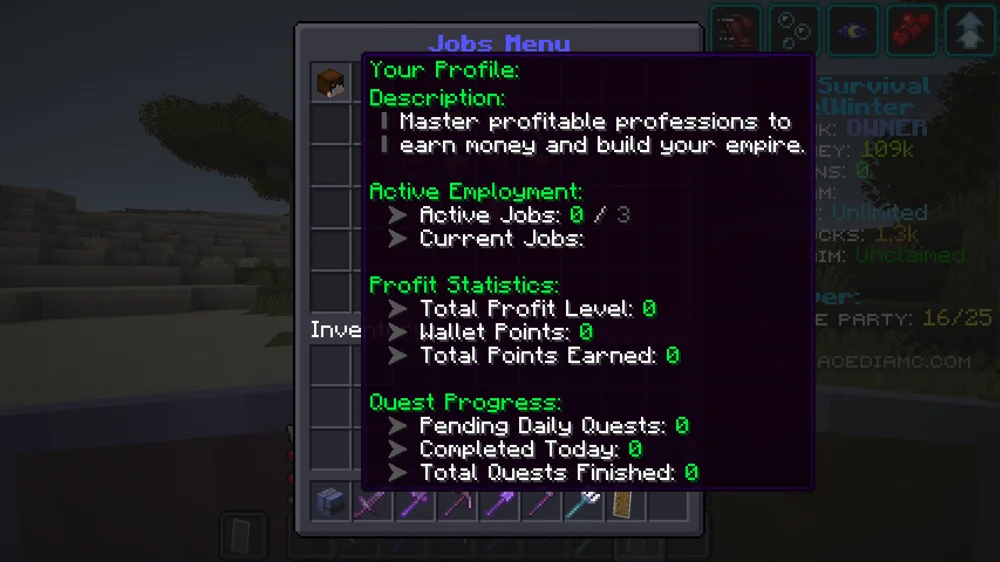
The menu opens on your profile. You can hold up to three jobs at once, and it tracks your level, your earnings and your daily quests.
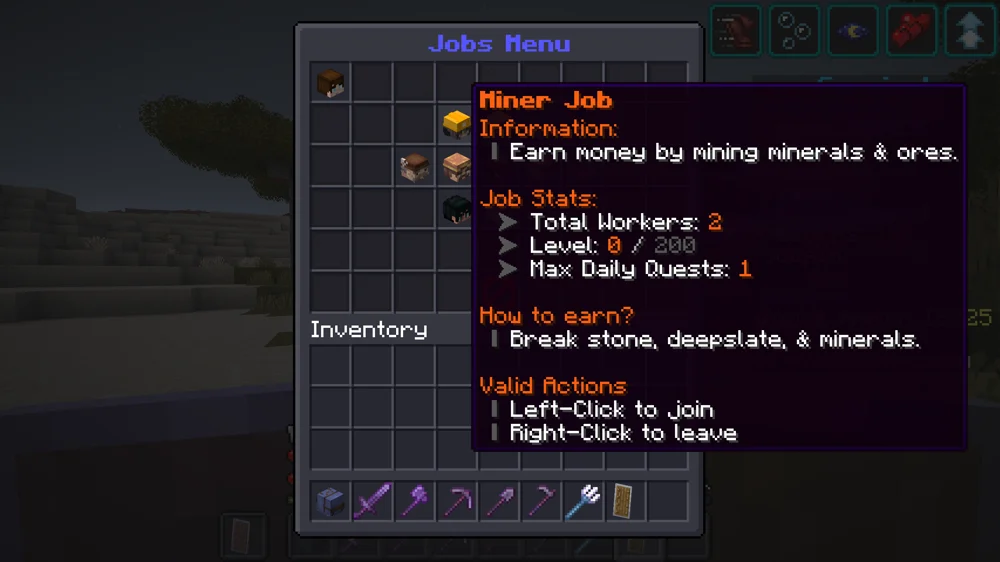
Hover any job to see what it pays for. Left-click to join it, and right-click to leave if you change your mind. Each job levels up to 200 and carries one daily quest.
A few to start with:
Because you get three slots, the usual advice is to pick jobs that match what you were already planning to do that session rather than spreading yourself thin.
3. Set a home
/sethome where you settle, and /home to get back. Ranks raise how many homes you can keep. /spawn always returns you to spawn.
4. Selling and buying
The shop is split into five categories — Blocks, Ores, Farming, Mobs and Spawners. Hover any of them to see the name, then click to go in.
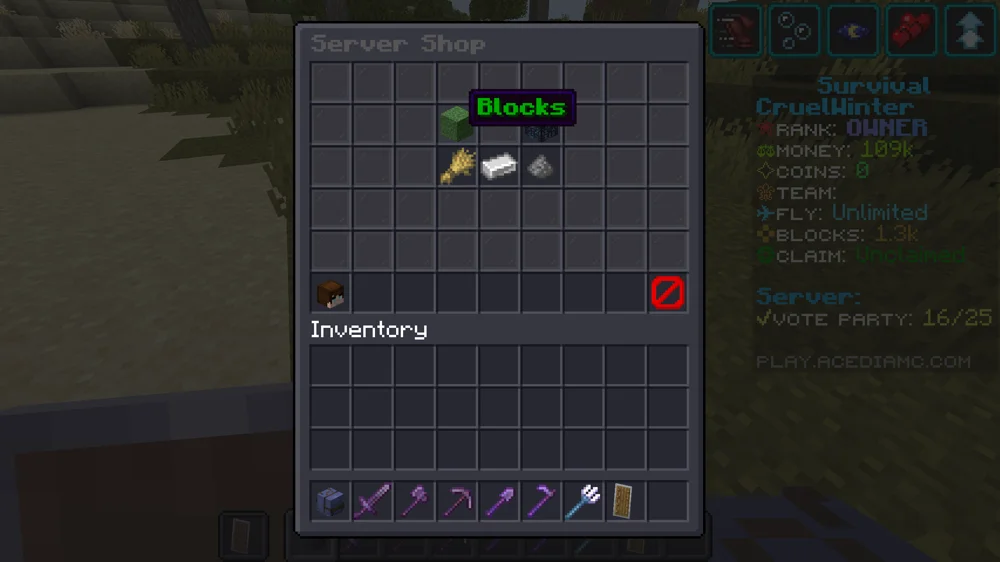
Your own head sits in the bottom-left corner of the menu. Hover it to check your balance without closing the shop.
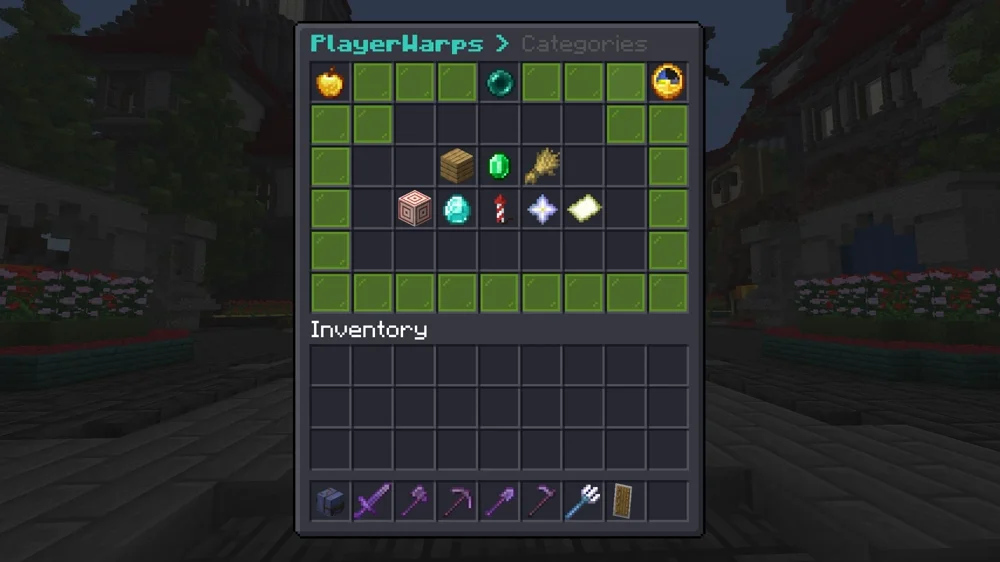
Player warps live in their own menu, sorted into categories. It also keeps a list of your favourites and the warps you have recently visited, so the places you use often stay one click away.
Selling on the auction house
Hold the item in your hand and type /ah sell followed by a price. For example, /ah sell 1000 lists whatever you are holding for $1,000. If your hand is empty it will tell you to hold something first.
There is no confirmation step, so a mistyped price goes straight up. You can take your own listing down again by clicking it and choosing Cancel Auction.
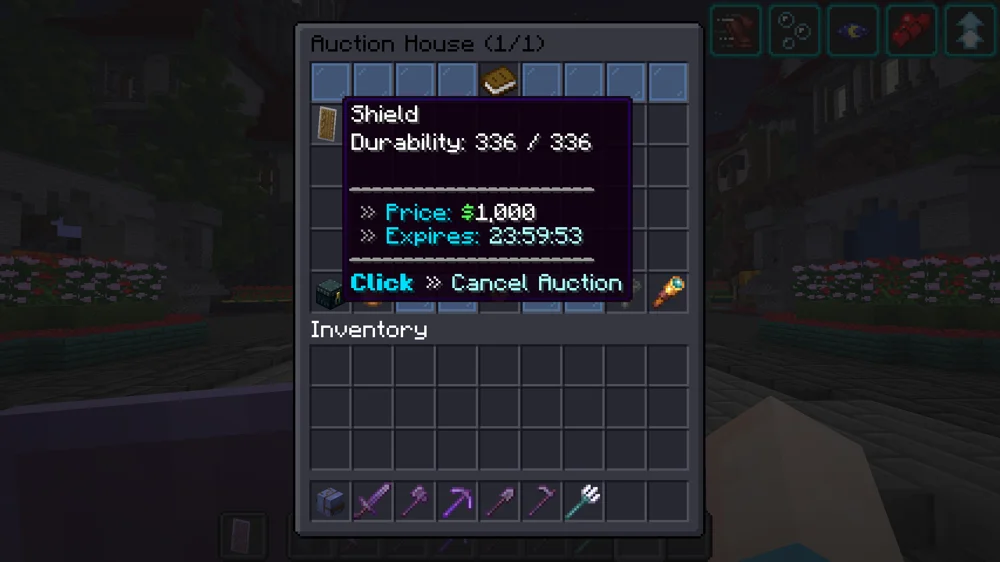
The rules worth knowing:
/ah search <text> finds a specific item, and /ah history shows what you have bought and sold.
5. Getting around
6. Getting rewarded
7. Progressing
/ranks shows the ladder and /rankup promotes you when you qualify. See Earned Ranks for the exact requirements. /skills, /stats and /playtime track how you are doing, and /lb shows the leaderboards.
8. Making it yours
If something goes wrong
/report reaches staff straight away, and /rules shows the rules in chat. Anything else, ask in Discord.